Topics: V4 Home Download Installation Help Release Notes
Installation Instructions
Recorded TV Manager 4.1
This software was last updated on February 20, 2015.
Please use Control Panel to uninstall any previous version first. See also Preserving Data Files.
For Windows 7, download Recorded TV Manager 4.
for Windows 8 or Windows 10 download Recorded TV
Manager 4.1.
- Download the file. See additional download information here.
- Run the downloaded installer file (msi)
- Accept the License Agreement.
- In User Account Control, click Yes to allow installation.
- Click Finish.
Please see important additional information in the Release Notes.
The following, additional steps are required:
These setup steps must be done in the order specified.
Configure SmartMove Service log-in account
The Recorded TV Manager SmartMove Service is a Windows Service Application (What's this?) which runs whenever the Host computer is running.
The SmartMove Service is installed with Recorded TV Manager 4.1 and must be configured before it will function properly.
Important: The SmartMove service is installed for the local machine only. To access network shares it is necessary to first configure the Log On account for SmartMove. The Log On account is the user account that the SmartMove service will run under, which must have administrative privilege, and it must have a password.
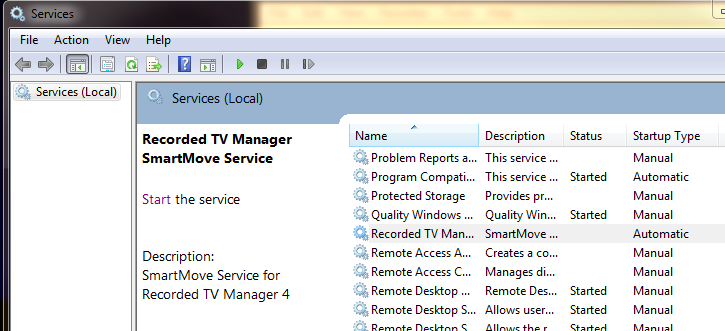
To set the Log On account for SmartMove, in the Windows Control Panel >> System and Security >> Administrative Tools, run the program named Services to start the Windows Services application. Scroll down to Recorded TV Manager SmartMove Service.
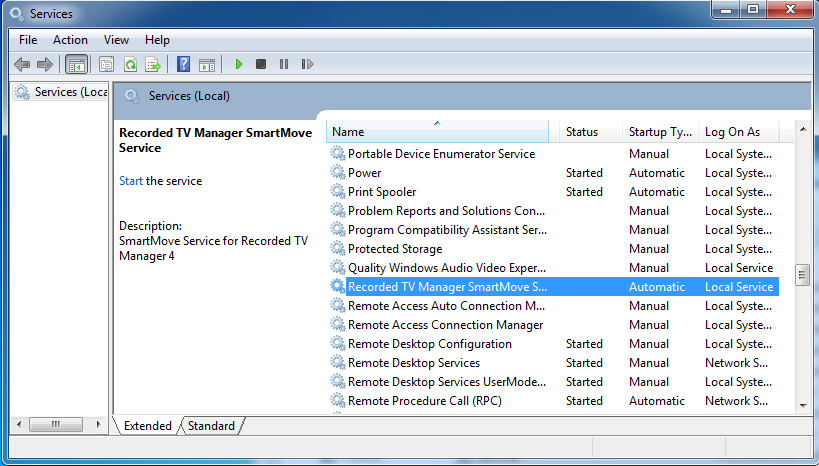
Important: If the service is Running, Stop it first before configuring the Log On account.
Double-click to open the Properties dialog.
Select the Log On tab. The default setting is Local Service which will only support moving files to other folders and disks on the local machine.
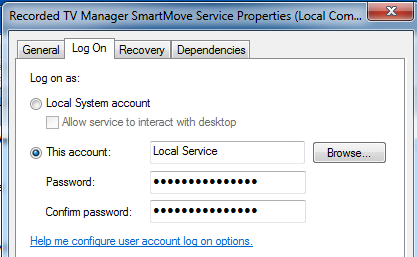
To set the Log On account for the SmartMove service, click This Account and then click Browse... which will open the Select User dialog.
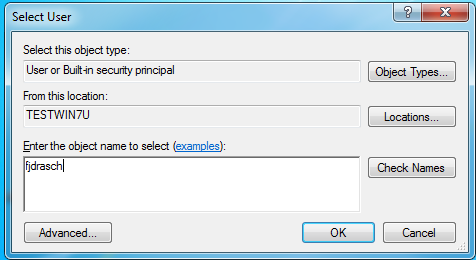
Enter the User name in the textbox, as in "fjdrasch" above, and then click OK. The user account must have Administrative privilege and it must be password protected. It is recommended that this be the same user account that Recorded TV Manager 4.1 is running under.
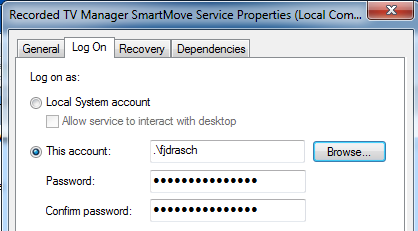
The account name will be prefixed with a dot-backslash (.\) which is required system notation. Note that although the Password fields are filled in, these are NOT the correct passwords. Enter and confirm the password for the account, and then click Apply.
Select the General tab. Click Start to start the SmartMove service with the new service Log On. Click OK and then close the Windows Services application.
Problems starting the service are usually caused by:
- The selected user account does not exist or does not have Administrative privilege.
- The selected user account is not password protected.
- The password was entered incorrectly.
Event Viewer
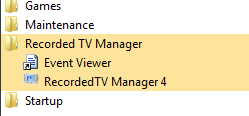
To verify that the SmartMove service has started, from the Start Menu >> Recorded TV Manager run the Event Viewer application.
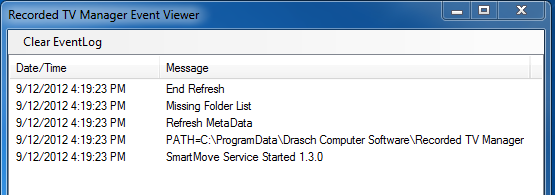
(The most recent event message is always on top.)
Note that PATH is the file path to the Recorded TV Manager data files on the Host machine.
Missing Folder List - When the program first runs, there is no Folder List. The following procedures explain how to set up the Folder List.
Setup Folder List
The Folder List is a list that you define of all the folders on the network which contain Media Center recorded television files, either *.wtv or *.dvr-ms.
Before a folder can be added to the Folder List, it must be shared on the network. See here for information from Microsoft on Share Files using the Public folders. Folders in the Folder List can be on any computer on the network and do not necessarily need to be in the Public folder, they just need to be shared. See File sharing essentials for additional information about sharing files on the network.
It is recommended that the SmartMove Service be Stopped before adding new folders to the Folder List.
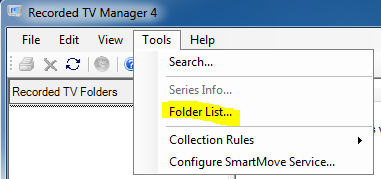
To add folders to the Folder List, use the Folder List editor in Recorded TV Manager 4.1.
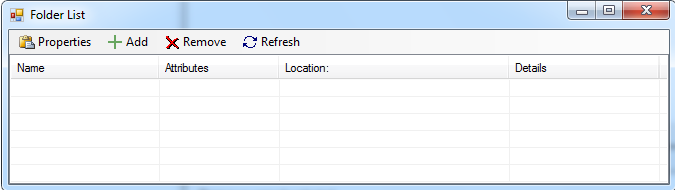
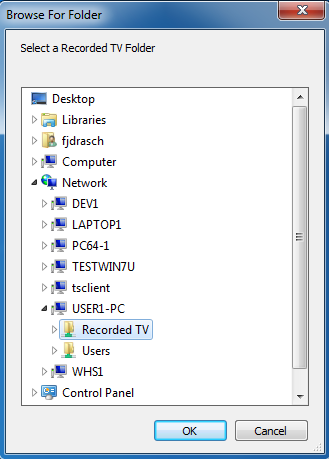
Click Add to add a new folder to the list. This will display the Browse For Folder dialog. Select Network >> Computer Name >> Shared Folder name. Only folders which are shared on the network will be visible in the Browse For Folder dialog.
Click OK to open the Folder Properties for the selected folder.
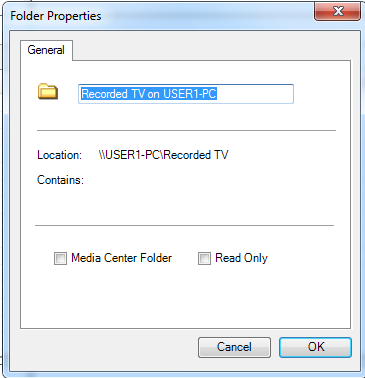
Edit the folder Nickname which is the name by which the folder will be displayed and referenced in Recorded TV Manager.
Check Media Center Folder if the folder is the folder where new recordings are originally saved by Media Center.
Check Read Only to protect the contents of the folder from being deleted in the Recorded TV Manager 4.1 user interface.
Click OK to open the Creating MetaData Files window.
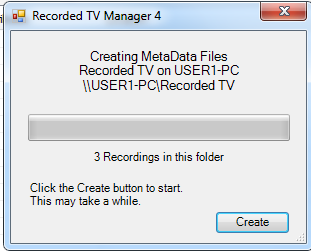
Click Create. At this point, the program will extract the metadata from each recorded TV file in the selected network folder and add it to the XML metadata database on the local machine. If there are a large number of recordings, especially dvr-ms files, this process can take a considerable amount of time. The software will display a progress bar. Please be patient.
The new folder will be added to the Folder List.
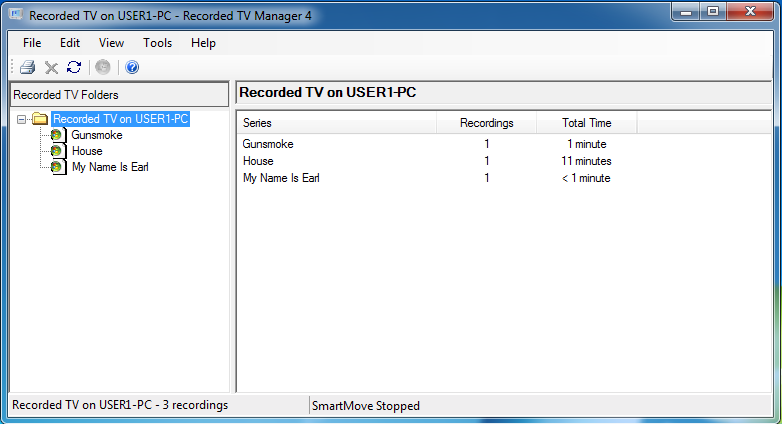
Repeat this for all the shared recorded TV folders on the network. There can be any number of folders in the Folder List. Sub-folders are not included. This list can be changed at any time, select Folder List... from the Tools menu.
Start the SmartMove Service
To start the SmartMove service, in the Windows Control Panel >> System and Security >> Administrative Tools, run the program named Services to start the Windows Services application. Scroll down to Recorded TV Manager SmartMove Service.
Click Start to start the SmartMove service.
The SmartMove service will automatically start whenever the host computer is re-booted.
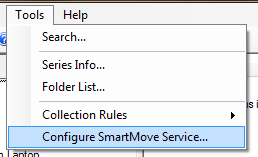
You can also access the Services application from the Recorded TV Manager 4.1 Tools menu.
Copyright © 2012,2015 Drasch Computer Software.
http://www.fjdrasch.com